Menu
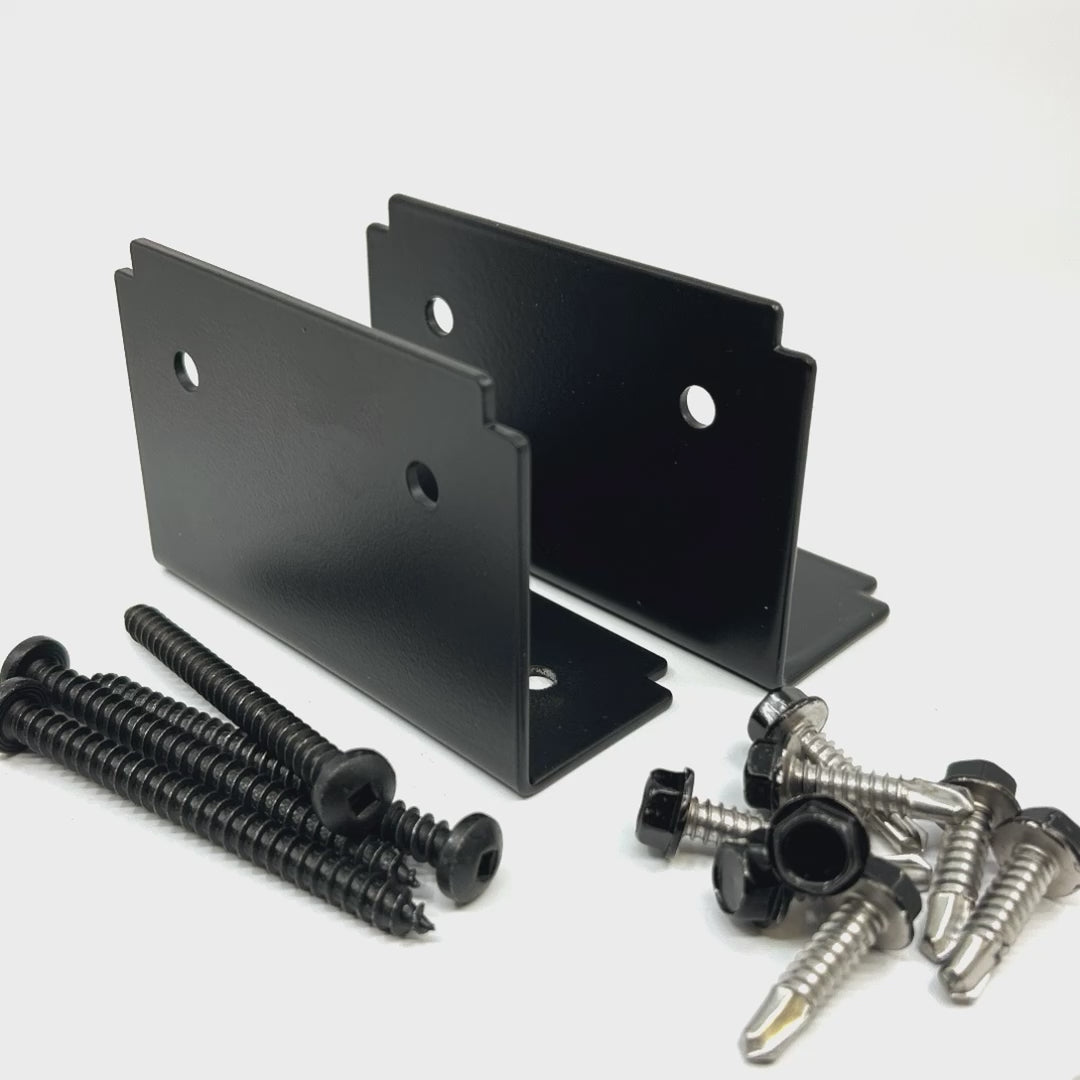
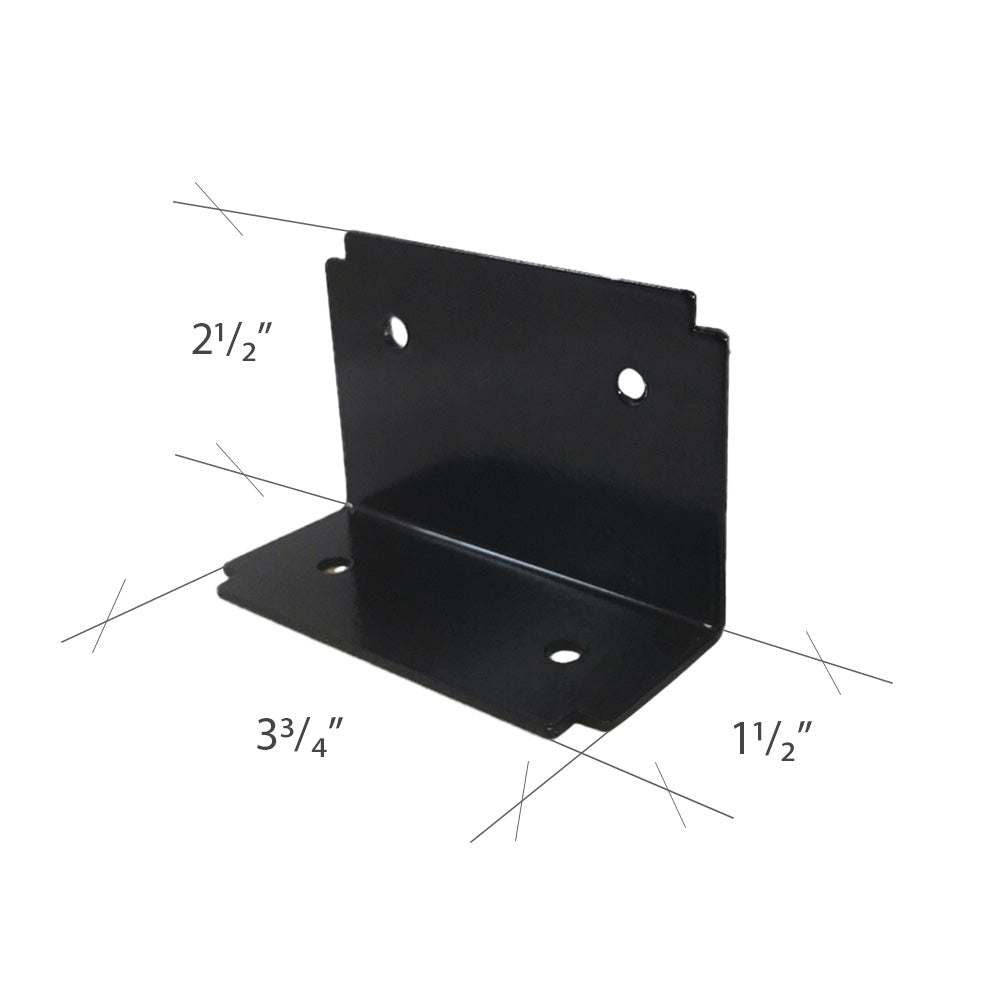
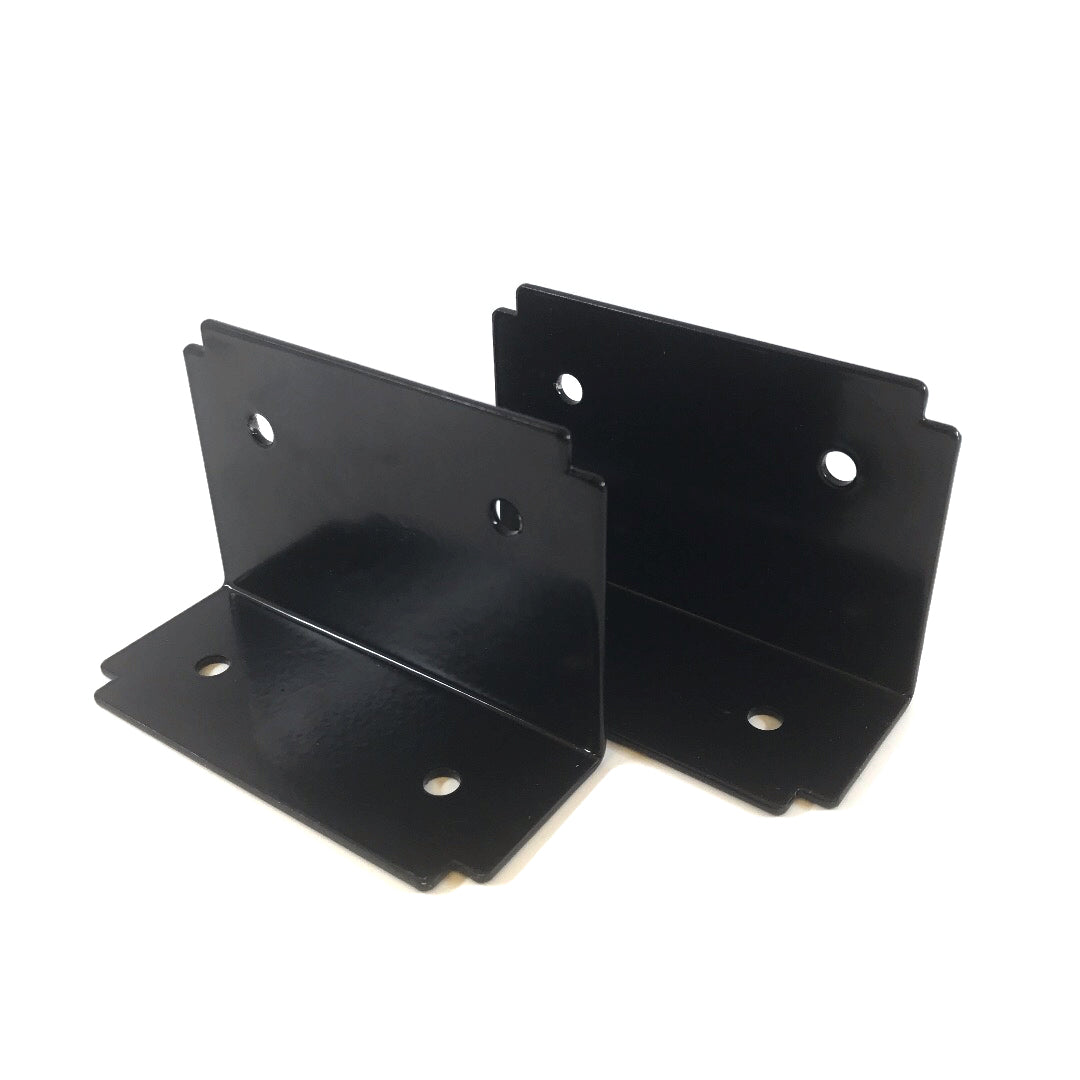
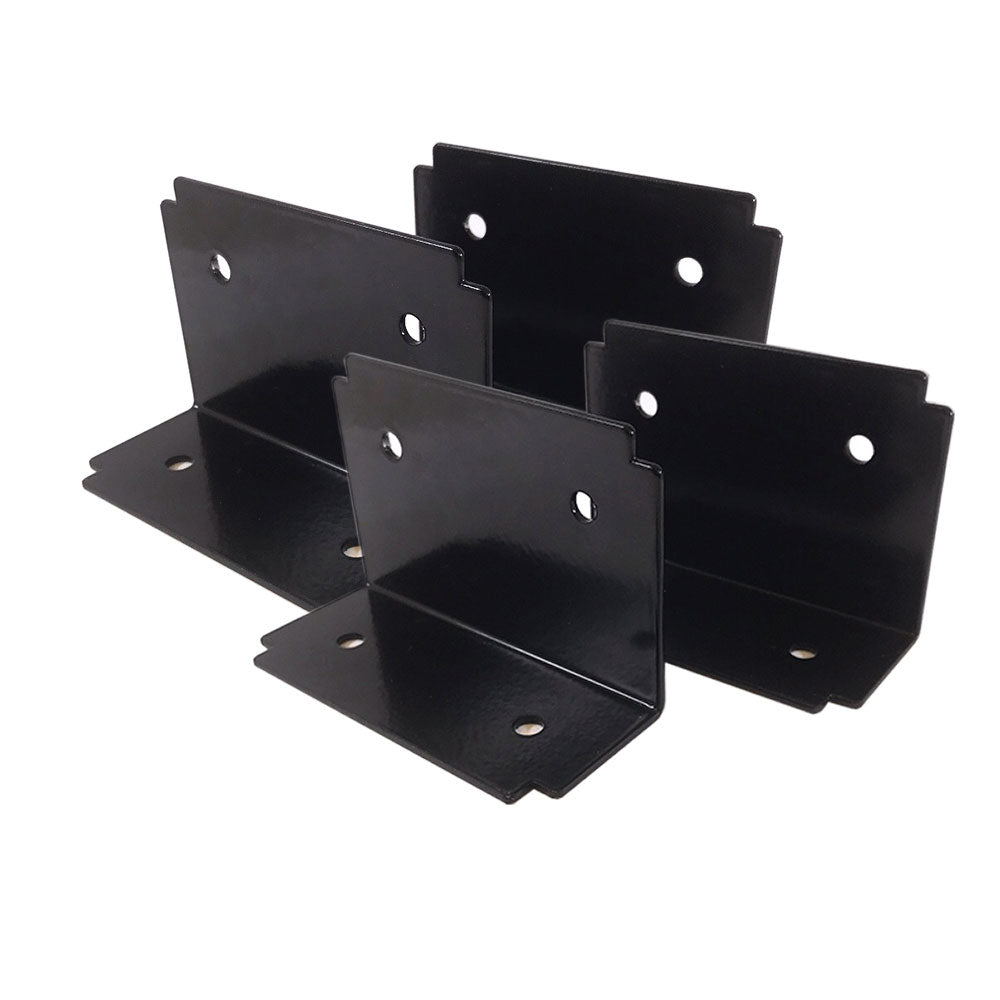
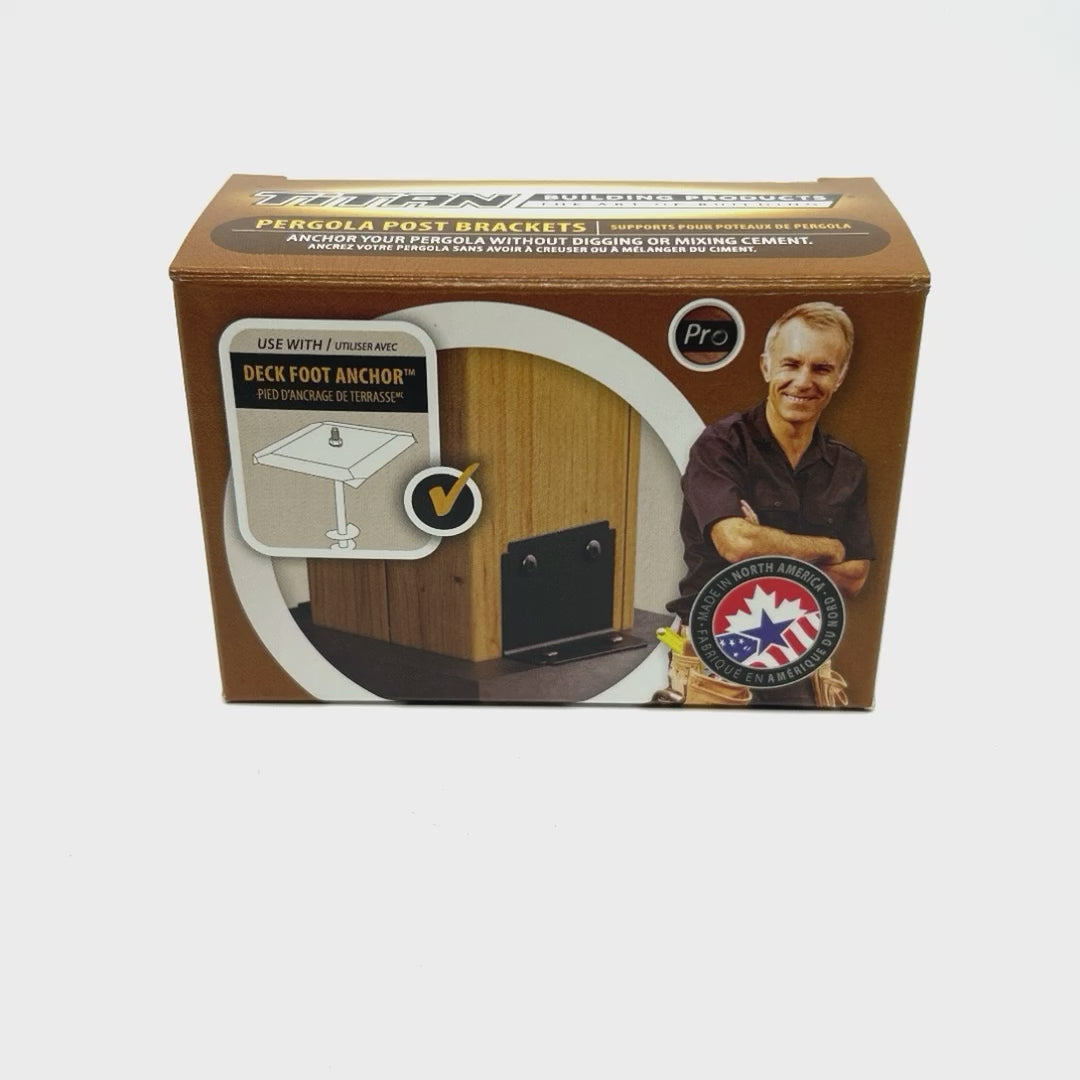
Pergola Posts from Kits often vary in size. These brackets will work with virtually any of them. Grab a copy of this installation guide and use it to help plan your project.
It's full of easy to understand illustrations to help you every step of the way.
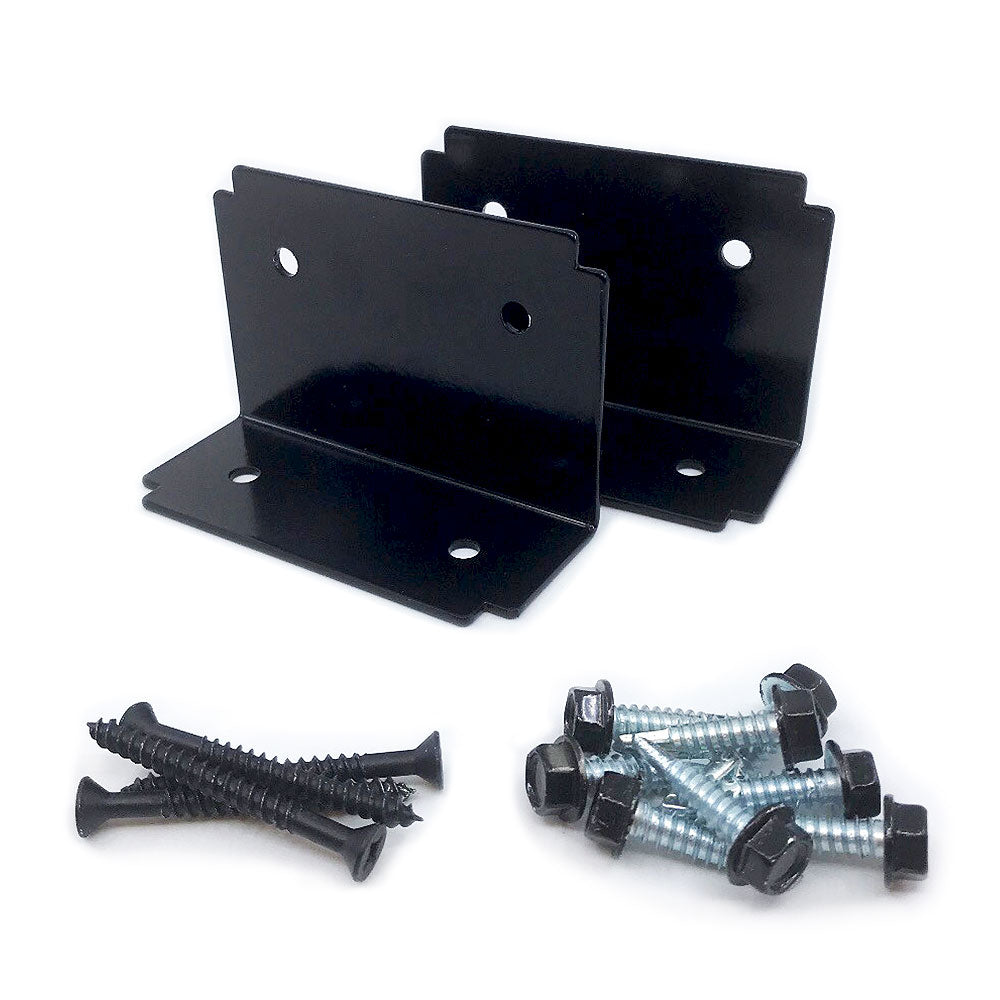
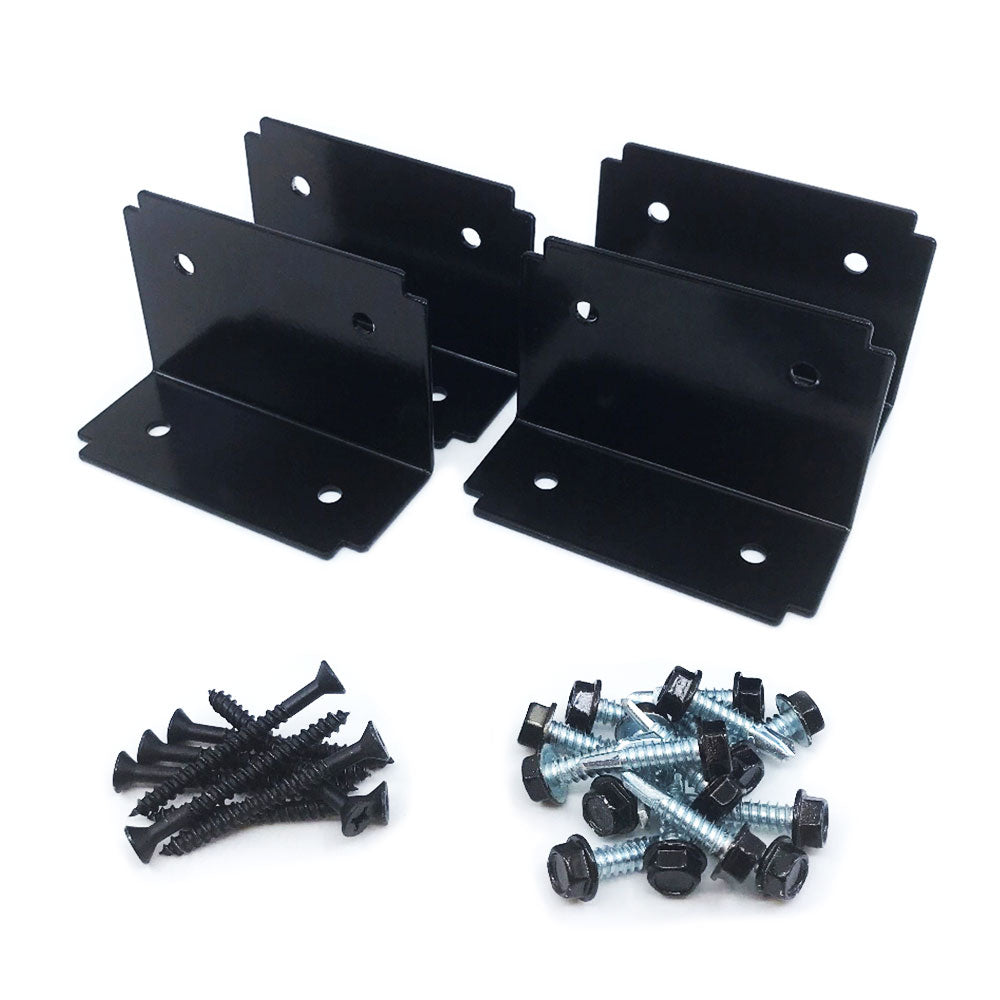
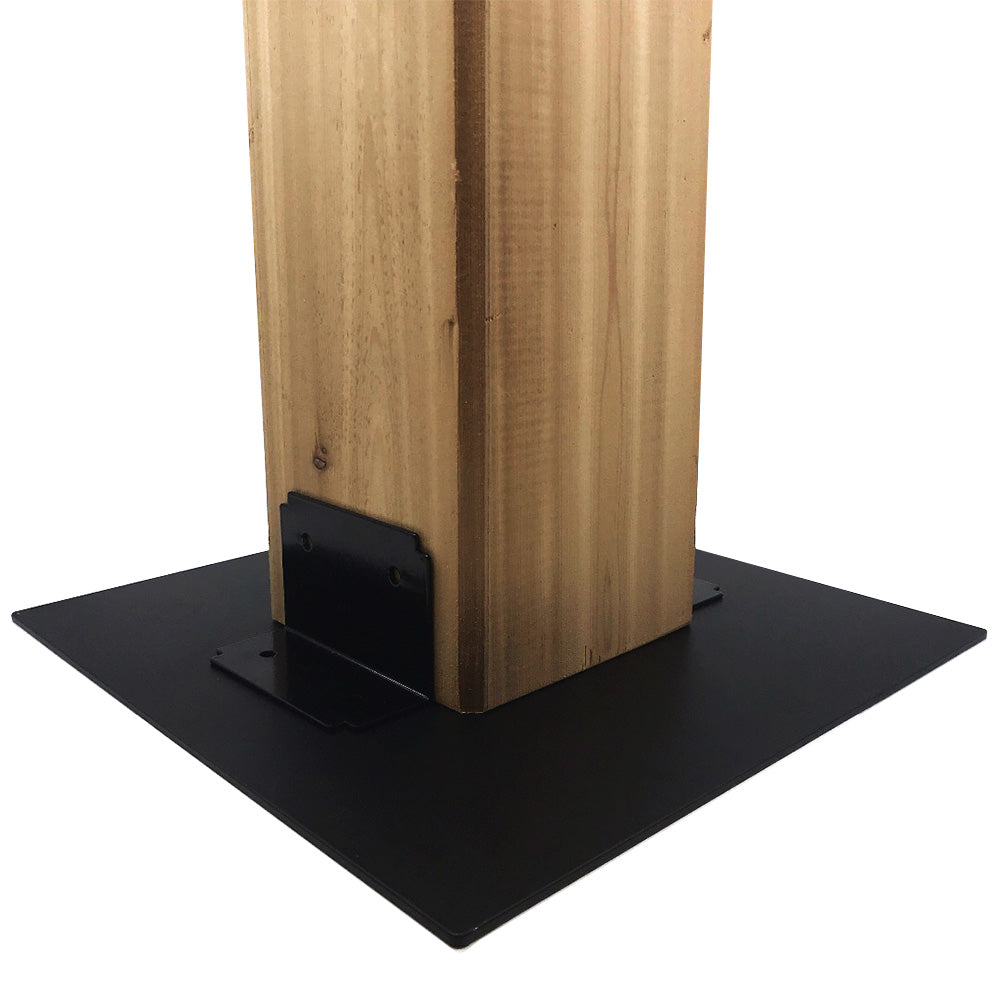
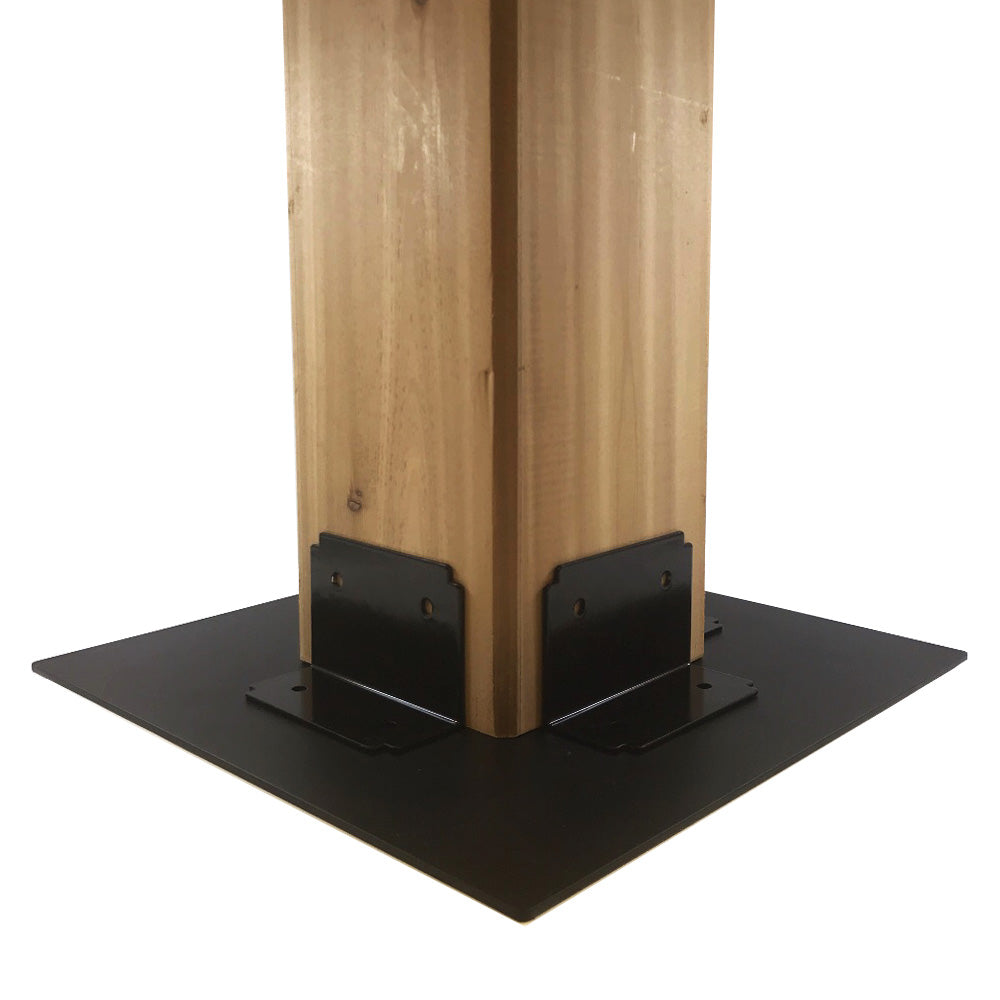
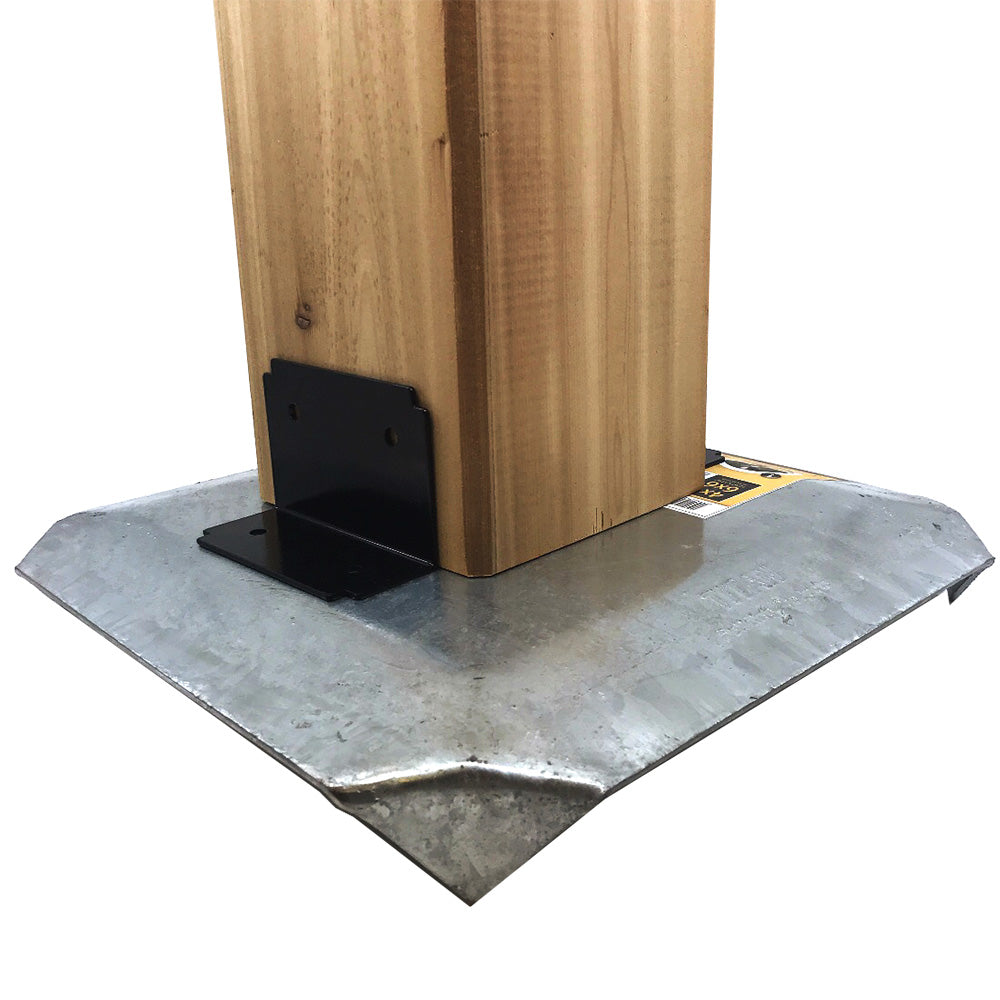
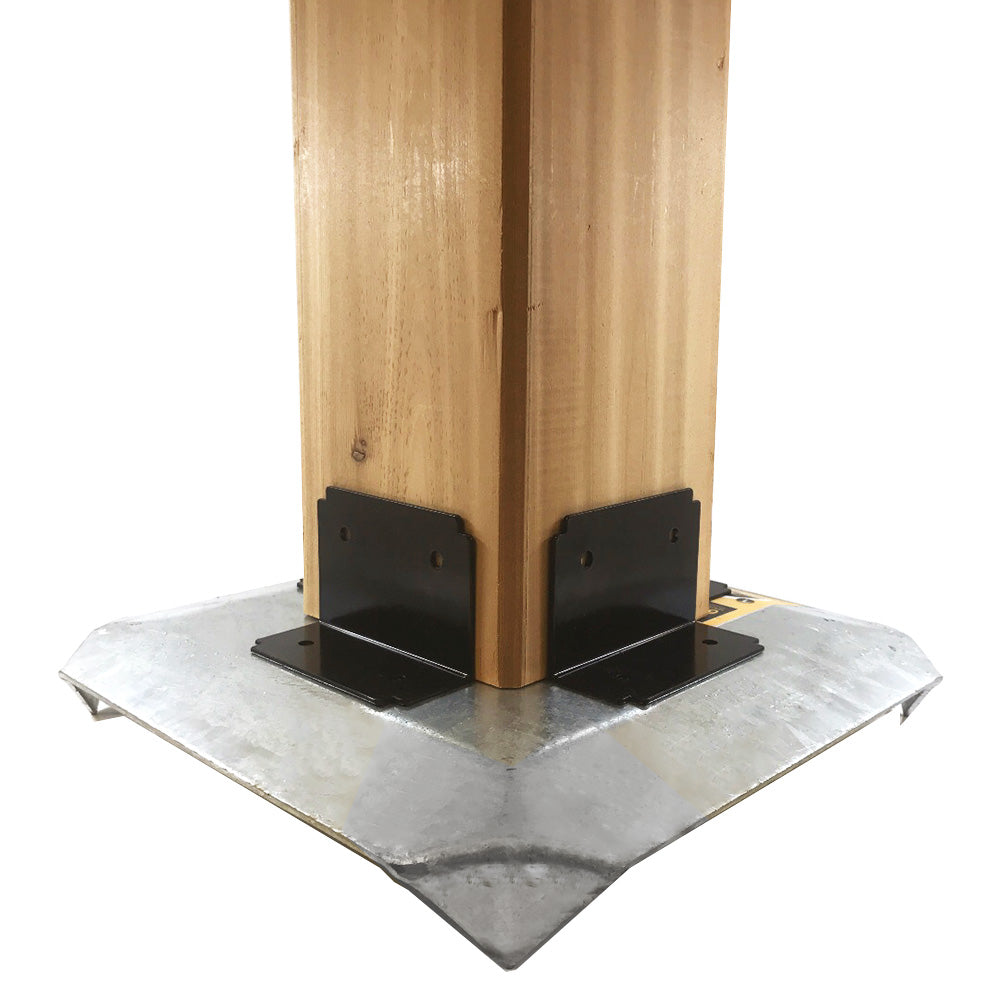
The post brackets can be used with a wide range of different post sizes. Posts can be wood, metal, hollow or with closed bottoms.
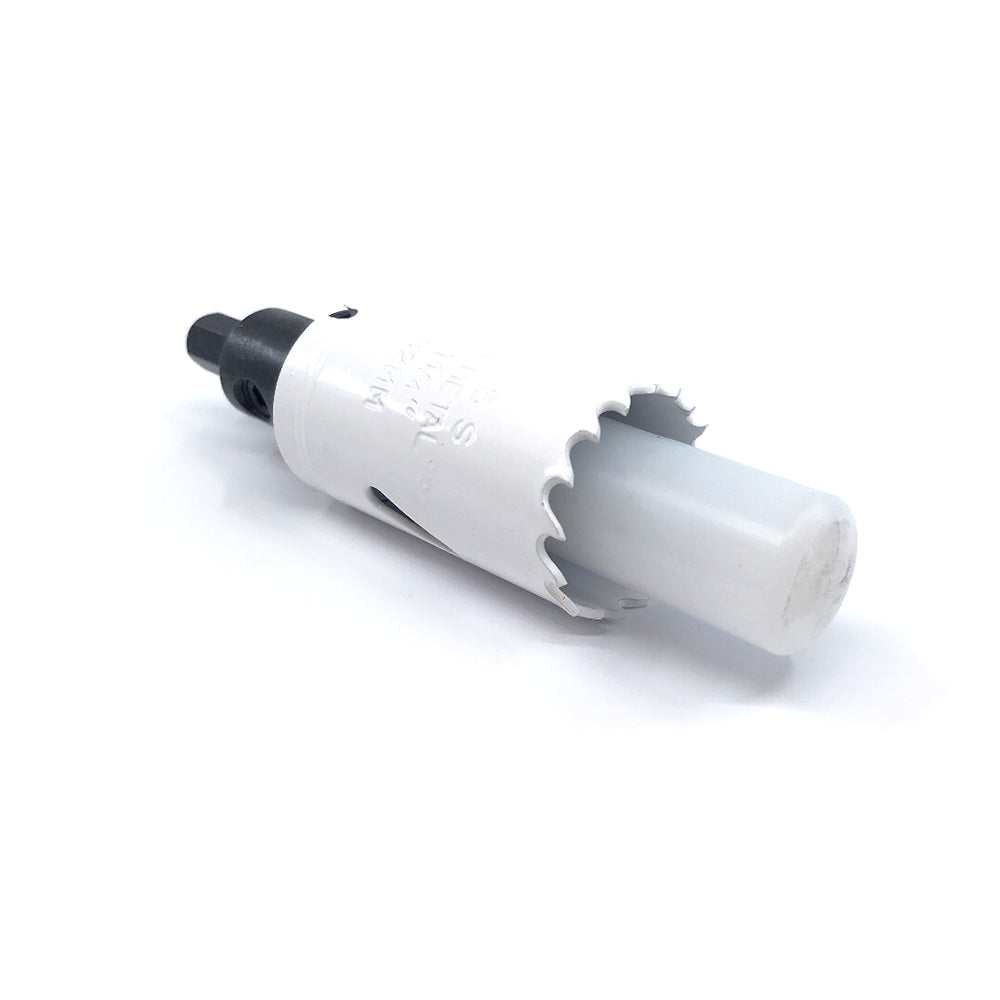
When using a solid wood post or a closed bottom metal post, an access hole for the drive head of the auger must be bored into the post.
A common bi-metal hole saw can be used to cut a hole in the flat bottom of metal post. This hole allows the drive head of the auger to reside inside the post.
Remove enough pavers to allow the 3-¼" blade to clear and drive it into the ground. Mark the post location with masking tape and align the brackets with the edge of the tape.
Place the brackets on the edge of the tape where the post walls are located.
Metal drilling screws are driven through the brackets and the plate to mark pavers below. This ensures the brackets and screw locations are perfectly registered on the pavers.
Remove the plate and drill the marked holes with a masonry bit to a depth of 1". This allows the metal screws to sit in the cavity within the pavers.
Place the plate back on the pavers, remove the tape, and screw the brackets securely to the plate. You will have a perfect fit.
Put the post in place and drive screws through the brackets to secure it.
The footing is firmly anchored into the ground by the helical blade and the posts are securely connected to the heavy metal load plate.
Install the auger and plate. Mark the post location with tape. Place post brackets along the edge of the tape. Drive metal drilling screws through the brackets and the plate. Remove the brackets and the tape. Put the brackets over the holes in the plate and drive the screws home. Put the post in place and drive screws through the brackets to secure it.
Download a full-size copy of the Warranty.
© 2024, DecksGo Powered by Shopify